LEGO MOC Spaceship

It’s been quite a while, about two years, but I finally finished the latest MOC. Mostly it was moving to a new house, unpacking, lack of time, and lack of the right pieces that took this one so long. If you want to skip right to the gallery, click here. As usual, click the thumbnails for larger and more detailed images.

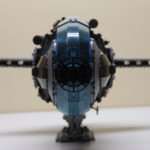
Angled Top View

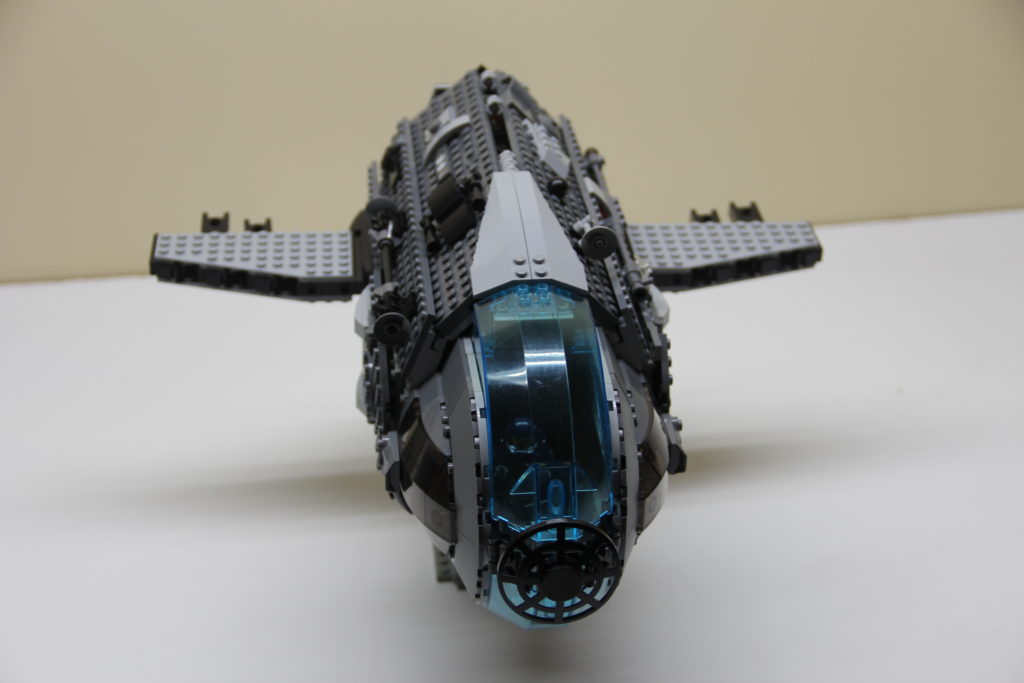
Front View

I based this one on the windshield; I wanted to connect the two large windshields together and see what would come of that. I also wanted to use a lot of the 1×2 Locking Hinge Plates to create some sort of angular/tube shaped body for the spaceship. It ended up being a kind of sunfish shaped spaceship. The wings were originally going to be on the top and bottom of the spaceship but because the angle of the wings was not quite sharp enough and because of the length of the ship, it looked better putting them on the side of the ship. A lot of this design changed throughout the building of it.

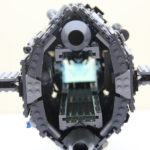
Hollow Interior view 1 of Spaceship

Some of the bigger challenges were getting the plates to connect together on the interior since the plates were facing opposite directions. I also built the frame of the ship a bit too weakly from the inside; so the hull became too weak once I had to apply the outer pieces and wanted to really fix them on. I now know to reinforce the connections better between the locking hinge plates. The angles of the locking hinge plates also didn’t perfectly line up with standard LEGO brick heights which meant I had to force some of the connections.

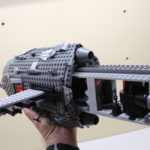
Rear view of Slide Rail for Spaceship Interior

Once I had the cockpit design and hull frame figured out, I realized that making an accessible or view-able interior would be difficult so I came up with a rail system to make the interior of the ship more easily accessible. Of course, because I did not reinforce the hull frame enough, the rail system is not as easy to use as I had hoped. I also had a problem with the non-standard sizing I made for myself by using the locking hinge plates and sliding it back all the way in so the engines were fully covered was a bit of a challenge (I didn’t want a bunch of gaps at the rear of the ship).

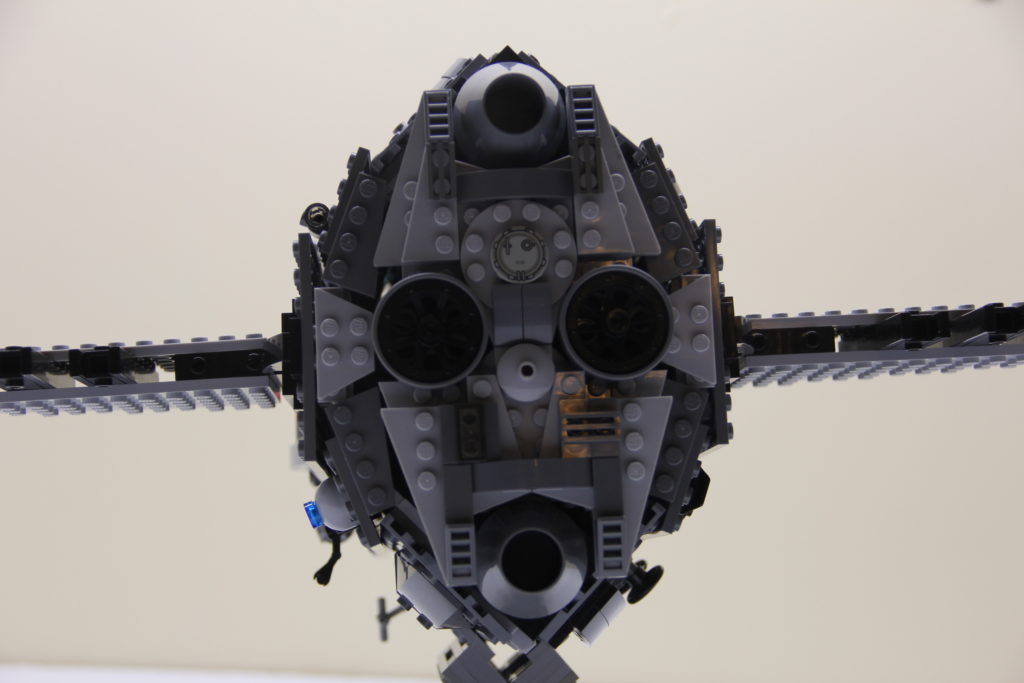
Engine Closeup

Although this one took me the longest to make (mostly because I couldn’t find the pieces I needed), it was worth it in the end. Learned a few new techniques and what not to do with the hinge pieces. I still need to learn how to put more of the little details into the MOC while building it instead of just glomming them on at the end. I also need to learn how to design the interiors better while building the frame instead of trying to put pieces on after having all the exterior plates in the way. For more pictures, the gallery can be found here. I may also take some pictures of some of the elements as I take it apart (kids have already played with it, so it’s pretty much done for at this point). I’ve also included some videos below of the entire ship (although it is quite dark despite adequate lighting while working) and you can see how fragile and off balance it is too.

 

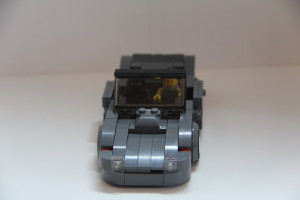
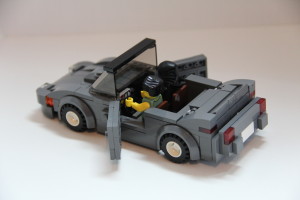
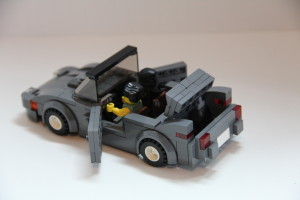
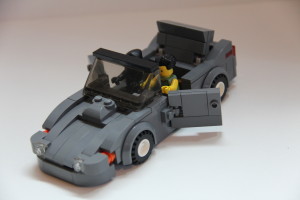
LEGO Sportscar

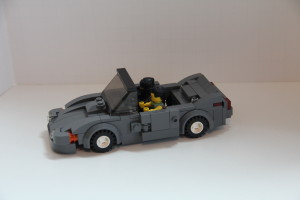
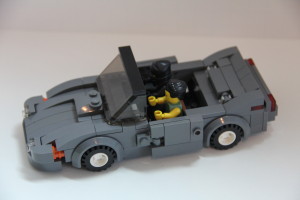
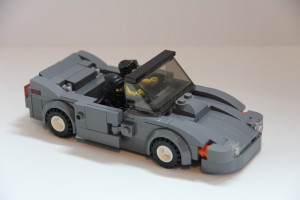
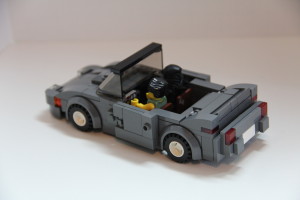
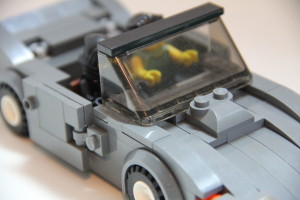
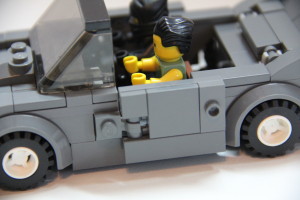
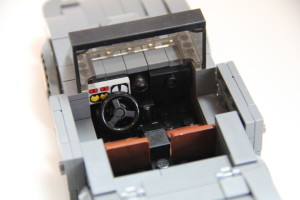
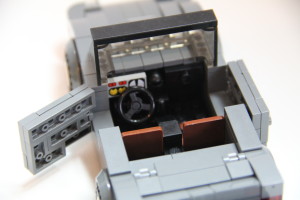
This sports car was intended to go with the custom house I built a few weeks ago.  I also wanted to build a car with a more realistic scale, unlike most of the one seat vehicles out there.  Also, seeing as it is intended to be a smaller sports vehicle, I tried to make the interior as small as possible to fit two minifigs, so the vehicle is 7 studs wide.  Overall, with that width it was a little wonky to build, but it worked out okay.
IMG_6567 IMG_6568 IMG_6570 IMG_6572 IMG_6569


IMG_6573 IMG_6574 IMG_6575 IMG_6576 IMG_6577 IMG_6578 IMG_6579

LEGO Furniture – Bunk Bed

The final bit of furniture in this batch of instructions.  I can’t take credit for the bed portion, I’m pretty certain I got most of that from either a LEGO Creator set or from another MOC Builder but I’ve included it here as part of these instructions.  You can alter the colors and patterns as you see fit (you’ll see I have both a checkered “blanket” as well as a striped).

Parts needed for the checkered bed

Parts needed for the checkered bed

Parts needed for the bunk bed frame

Parts needed for the bunk bed frame


A link to another video with higher resolution.

LEGO Furniture – Armoire

Here is a smaller armoire, it seems like I have a lot of the curved pieces in red.  I used a window with shutters for this one, it seemed to work out okay but made the interior a little goofy.

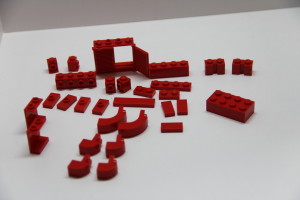
The pieces needed for building a small LEGO armoire

The pieces needed for building a small LEGO armoire


A link to another higher resolution video.


LEGO Furniture – Two small Chairs

First up is a smaller, easier chair build.  Color choice is up to you of course.

All the pieces for the small chair

All the pieces for the small chair


A link to another video with higher resolution.

For the second chair, it is a little more complicated and doesn’t use the standard pre-made LEGO chair.  I think it looks more like an armchair, but not quite a full recliner chair.

Pieces used for the small chair

Pieces used for the small chair


Link to another video with higher resolution.

LEGO Furniture – Small Desk and Flat screen TV

Here’s a small desk, very simple to make or modify.  This is the basic way to make drawers, whether for desks, cabinets, or a chest of drawers.

The pieces needed for a small desk

The pieces needed for a small desk


Link to another video with higher resolution.

Next up is a simple flat screen TV.  You can attach this to a wall pretty easily.  On this MOC I had a more complicated TV with an adjustable arm for various viewing angles.  This version is cleaner and more simple, you can of course alter the flat pieces with other ones as you see fit.

The pieces for building a LEGO flat screen TV

The pieces for building a LEGO flat screen TV


Link to another video with better resolution.

LEGO Furniture – Small Vanity

Here’s another piece of furniture, a small red vanity.  You can vary it by size or pieces, I just used what I had available (some of my other furniture are not as carefully color coordinated).  You could also add a small mirror piece if you have one.  I’ve included an image so you can see all the pieces I used for this piece of furniture.

IMG_6162

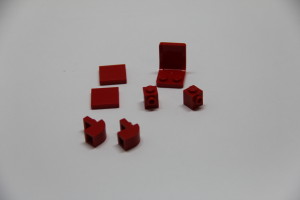
All the vanity pieces


Here’s a link to another video at a higher resolution.

LEGO Furniture – Washer and Dryer

A long time ago, someone asked me for instructions (or rather, what pieces I used) to build some of the furniture in my MOCs.  I didn’t forget Michelle, but it has taken me a long time to get around to photographing and arranging it.  So here’s the first one, let me know how it works out as instructions (or how it does not).  The quality isn’t that great, but it should give you an idea.  Obviously, color choices are up to you (as well as replacing the old school Blacktron space tile with another).  I’ve also included an image below to better show all the pieces I used for the washer and dryer.

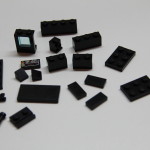
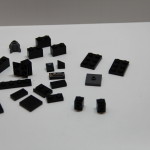
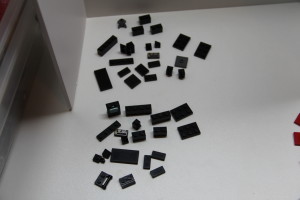
All the pieces for the dryer

All the pieces for the dryer

All the pieces for the washer

All the pieces for the washer

IMG_6294

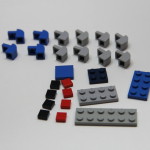
All the pieces, for both the washer and the dryer


Here’s a link to another video with a larger screen resolution.


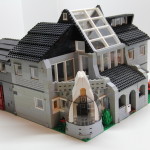
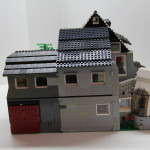
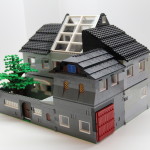
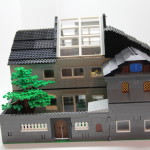
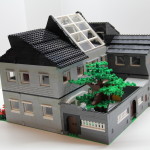
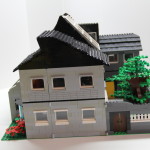
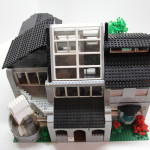
Lego Hinged House

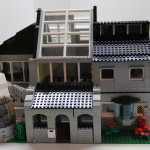
This project took a long time to finish.  Not because it was difficult, not necessarily to needing to find or acquire pieces (although that is often a major factor) but just because things have been too busy.

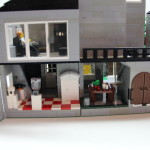
Hinged House Front

IMG_6072

IMG_6073

IMG_6074IMG_6075IMG_6076IMG_6077IMG_6078IMG_6080

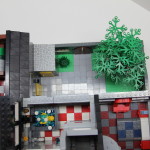
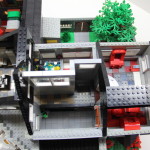
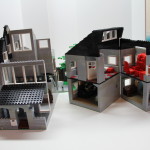
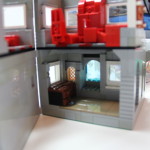
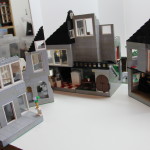
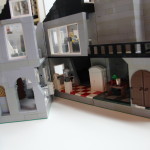
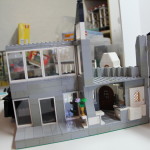
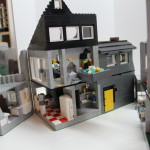
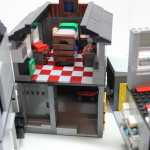
The idea behind this project was to try a new style of house (new to the kids anyway) for the kids to play with.  Most of my MOCs are built to fit alongside the creator series a major design part which involves each level being taken off.  I prefer this actually, it is cleaner in general and works quite well when designing and putting it together.  What I found with the kids, however, is that when it was time for them to play, they couldn’t quite visually connect the connections between the floors when you took each floor off.  It works great with three kids playing with one floor each, but they didn’t seem to like not being able to make the LEGO guy physically walk up the stairs to the next floor and having it disconnected.  That’s the premise behind this build.  Some of the furniture from an earlier post are scattered throughout this build (specifically the washer and dryer).

IMG_6082IMG_6084IMG_6085IMG_6086IMG_6087

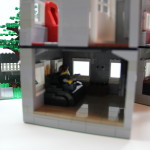
IMG_6088One of the problems with this is having a floor stacked on top with no way to really reach in there and play with the interior space.  I think in the end, it would have been better to have less hinges and maybe more space (taller building) on the interior.  The kids still seem to enjoy playing with this build though so I guess that’s all that counts in the end.

IMG_6089IMG_6090IMG_6091IMG_6092IMG_6093IMG_6094IMG_6095IMG_6096IMG_6098

After seeing the kids play with it, I’m not sure this experiment worked.  It may be too complicated, some of the parts are not kid friendly (like the hanging bathtub) and there are a few parts that do not close back up very easily.  The pictures don’t really show how it all goes together so here are a few videos.

Showing all the roofs and parts

Morgana reviews the Hinged House

The kids playing with the Hinged House

Another one of the kids playing with the Hinged House