
It’s been quite a while, about two years, but I finally finished the latest MOC. Mostly it was moving to a new house, unpacking, lack of time, and lack of the right pieces that took this one so long. If you want to skip right to the gallery, click here. As usual, click the thumbnails for larger and more detailed images.
Angled Top View

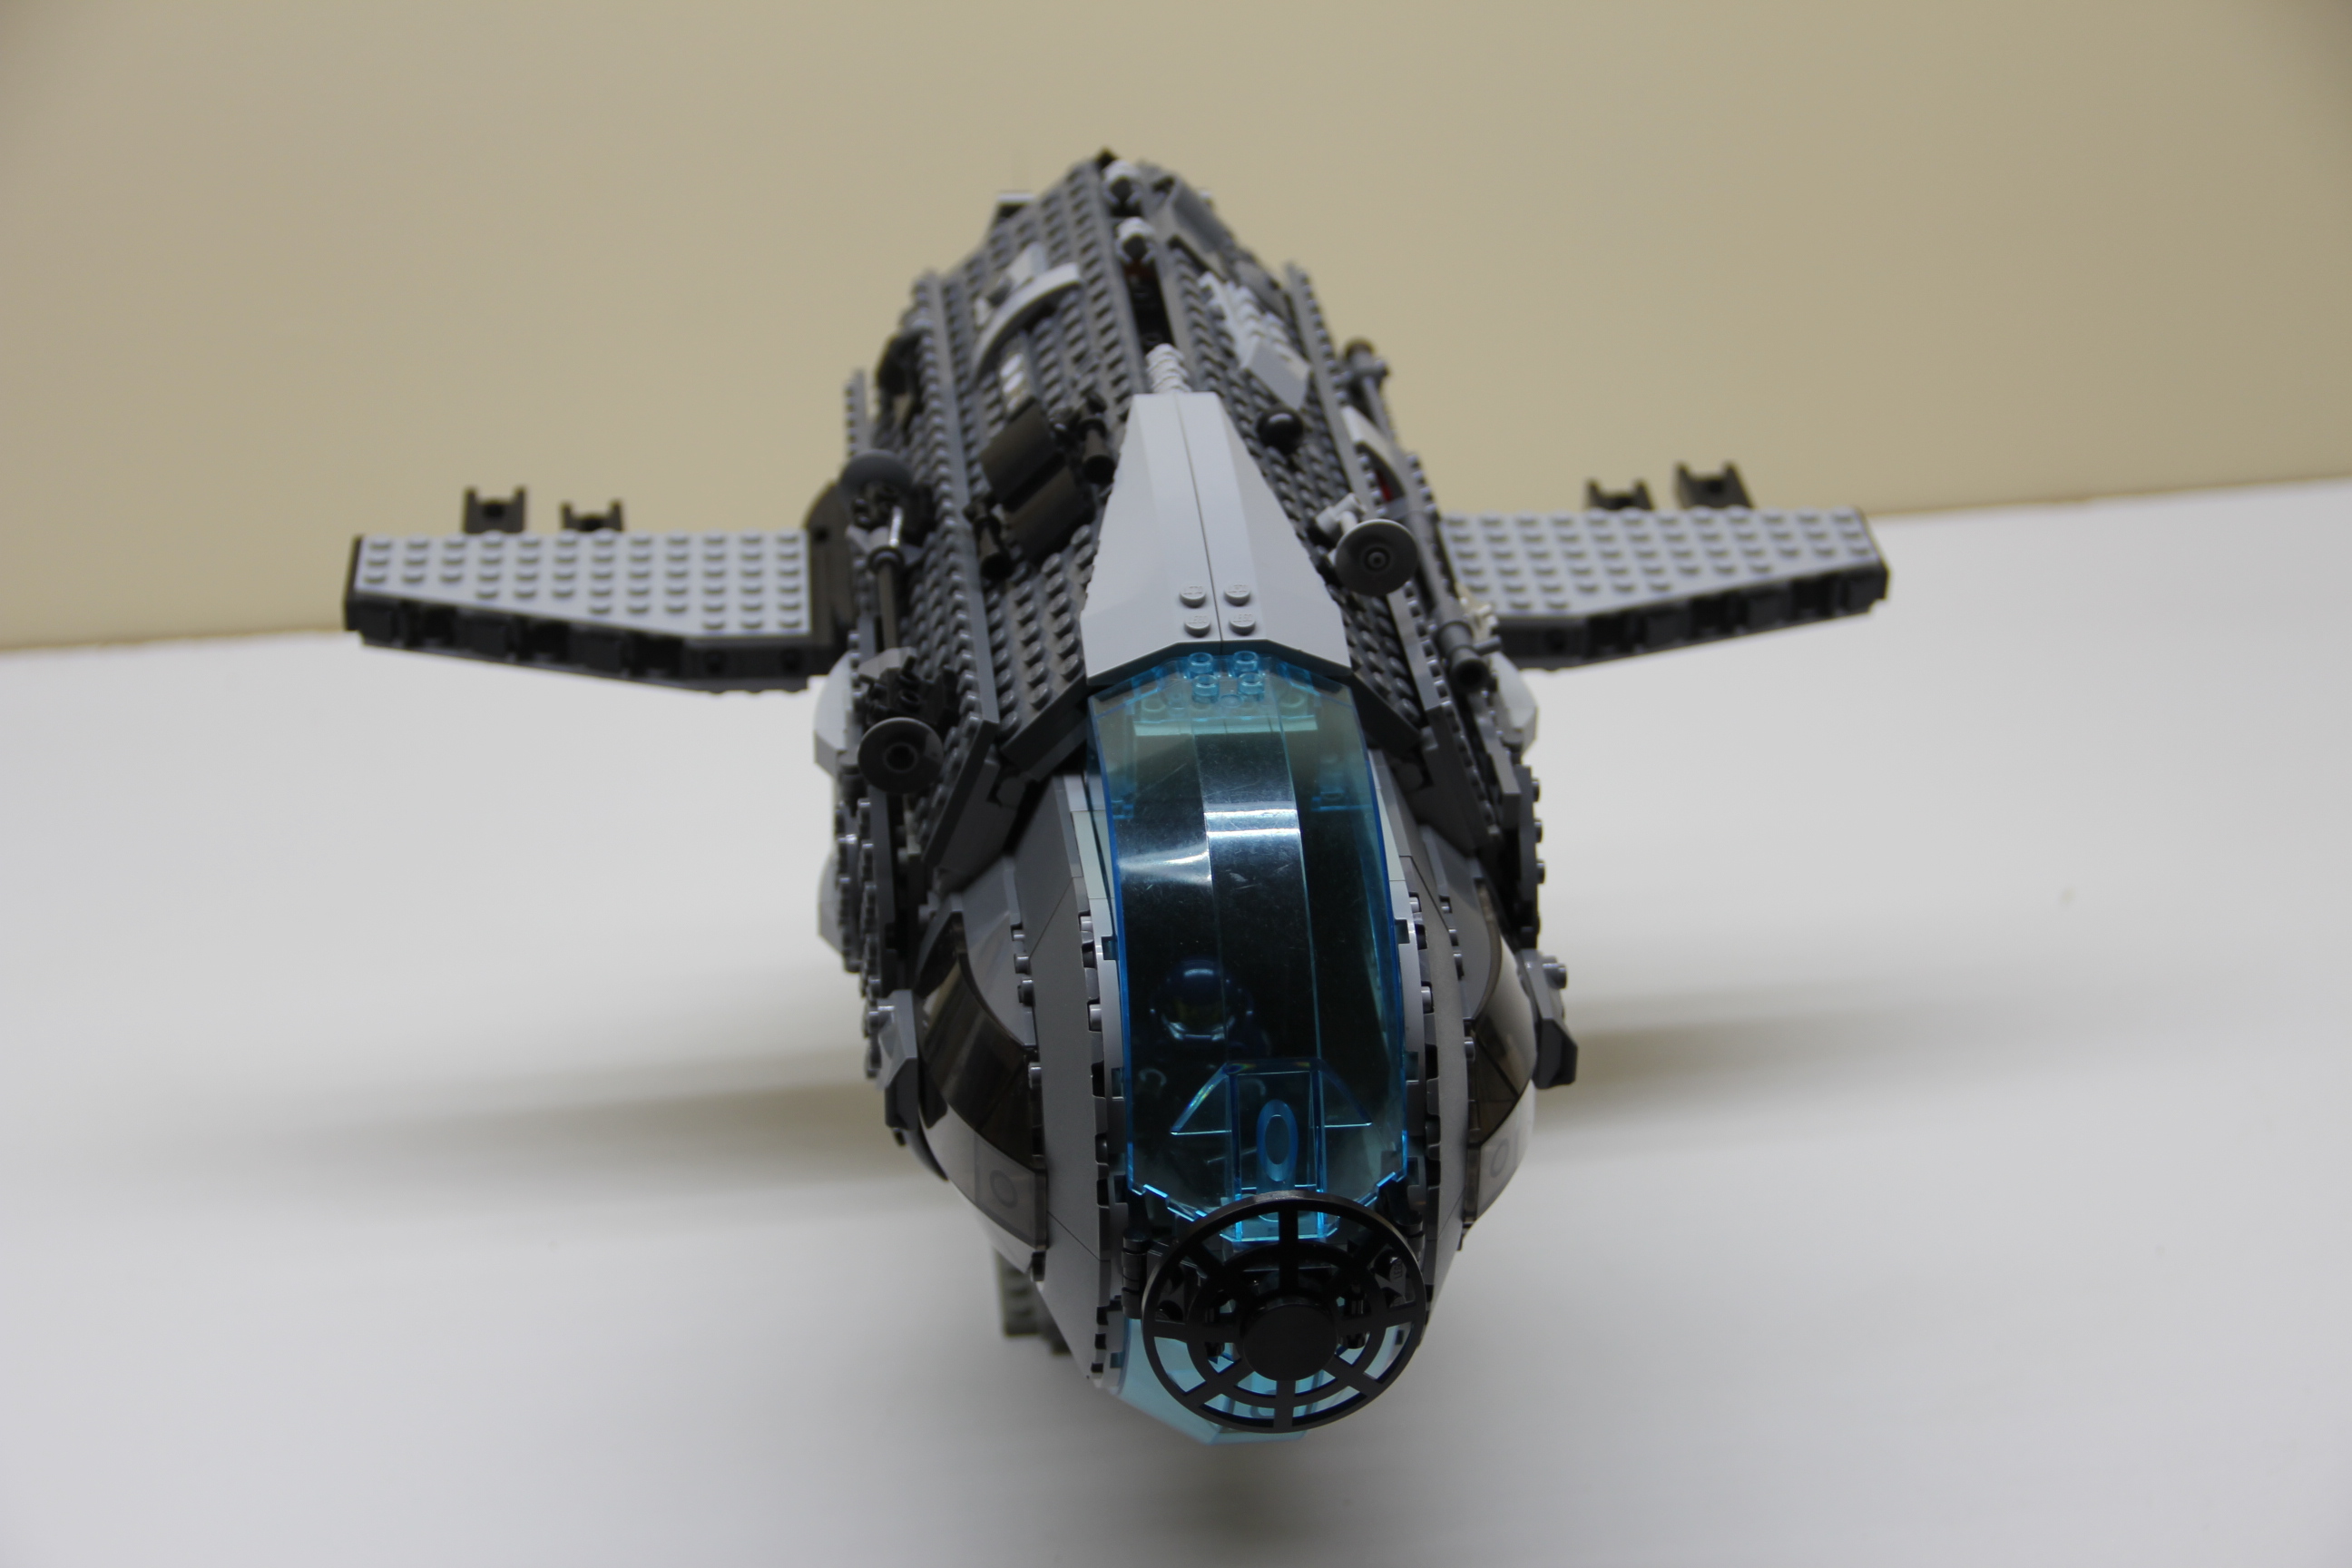
Front View
I based this one on the windshield; I wanted to connect the two large windshields together and see what would come of that. I also wanted to use a lot of the 1×2 Locking Hinge Plates to create some sort of angular/tube shaped body for the spaceship. It ended up being a kind of sunfish shaped spaceship. The wings were originally going to be on the top and bottom of the spaceship but because the angle of the wings was not quite sharp enough and because of the length of the ship, it looked better putting them on the side of the ship. A lot of this design changed throughout the building of it.
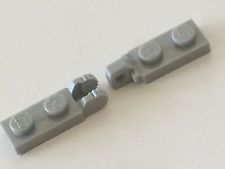
Hollow Interior view 1 of Spaceship
Some of the bigger challenges were getting the plates to connect together on the interior since the plates were facing opposite directions. I also built the frame of the ship a bit too weakly from the inside; so the hull became too weak once I had to apply the outer pieces and wanted to really fix them on. I now know to reinforce the connections better between the locking hinge plates. The angles of the locking hinge plates also didn’t perfectly line up with standard LEGO brick heights which meant I had to force some of the connections.

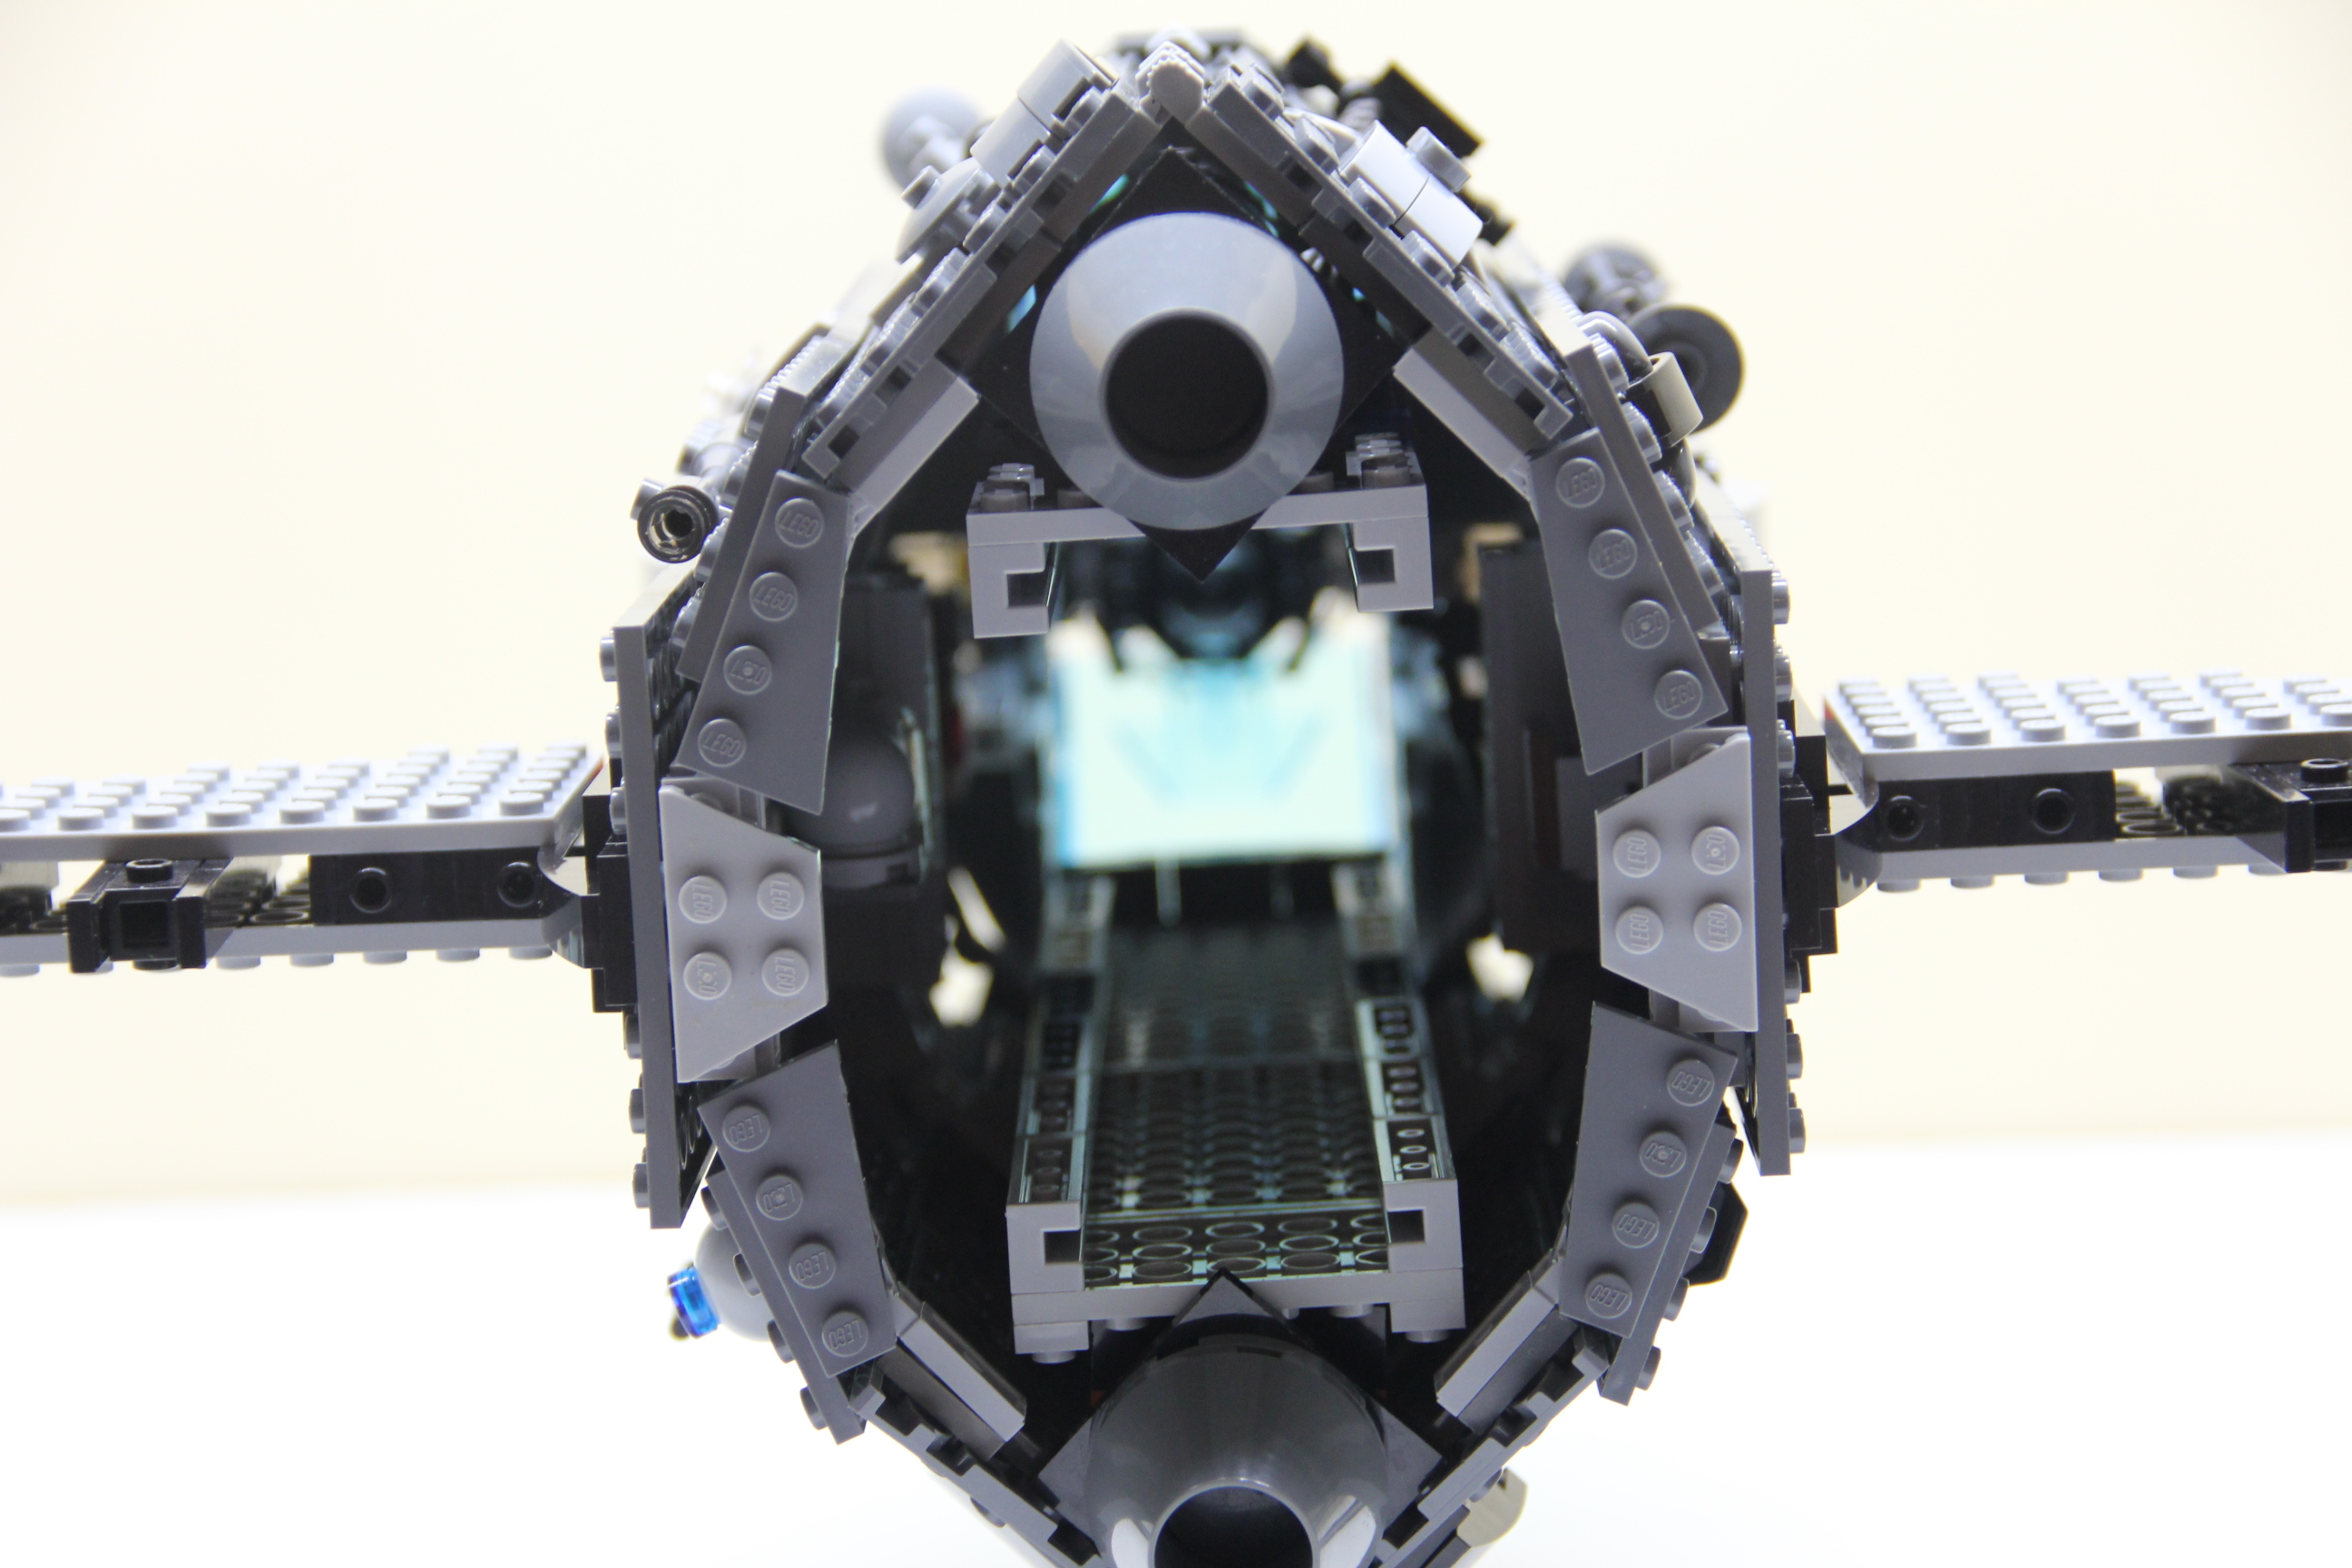
Rear view of Slide Rail for Spaceship Interior
Once I had the cockpit design and hull frame figured out, I realized that making an accessible or view-able interior would be difficult so I came up with a rail system to make the interior of the ship more easily accessible. Of course, because I did not reinforce the hull frame enough, the rail system is not as easy to use as I had hoped. I also had a problem with the non-standard sizing I made for myself by using the locking hinge plates and sliding it back all the way in so the engines were fully covered was a bit of a challenge (I didn’t want a bunch of gaps at the rear of the ship).
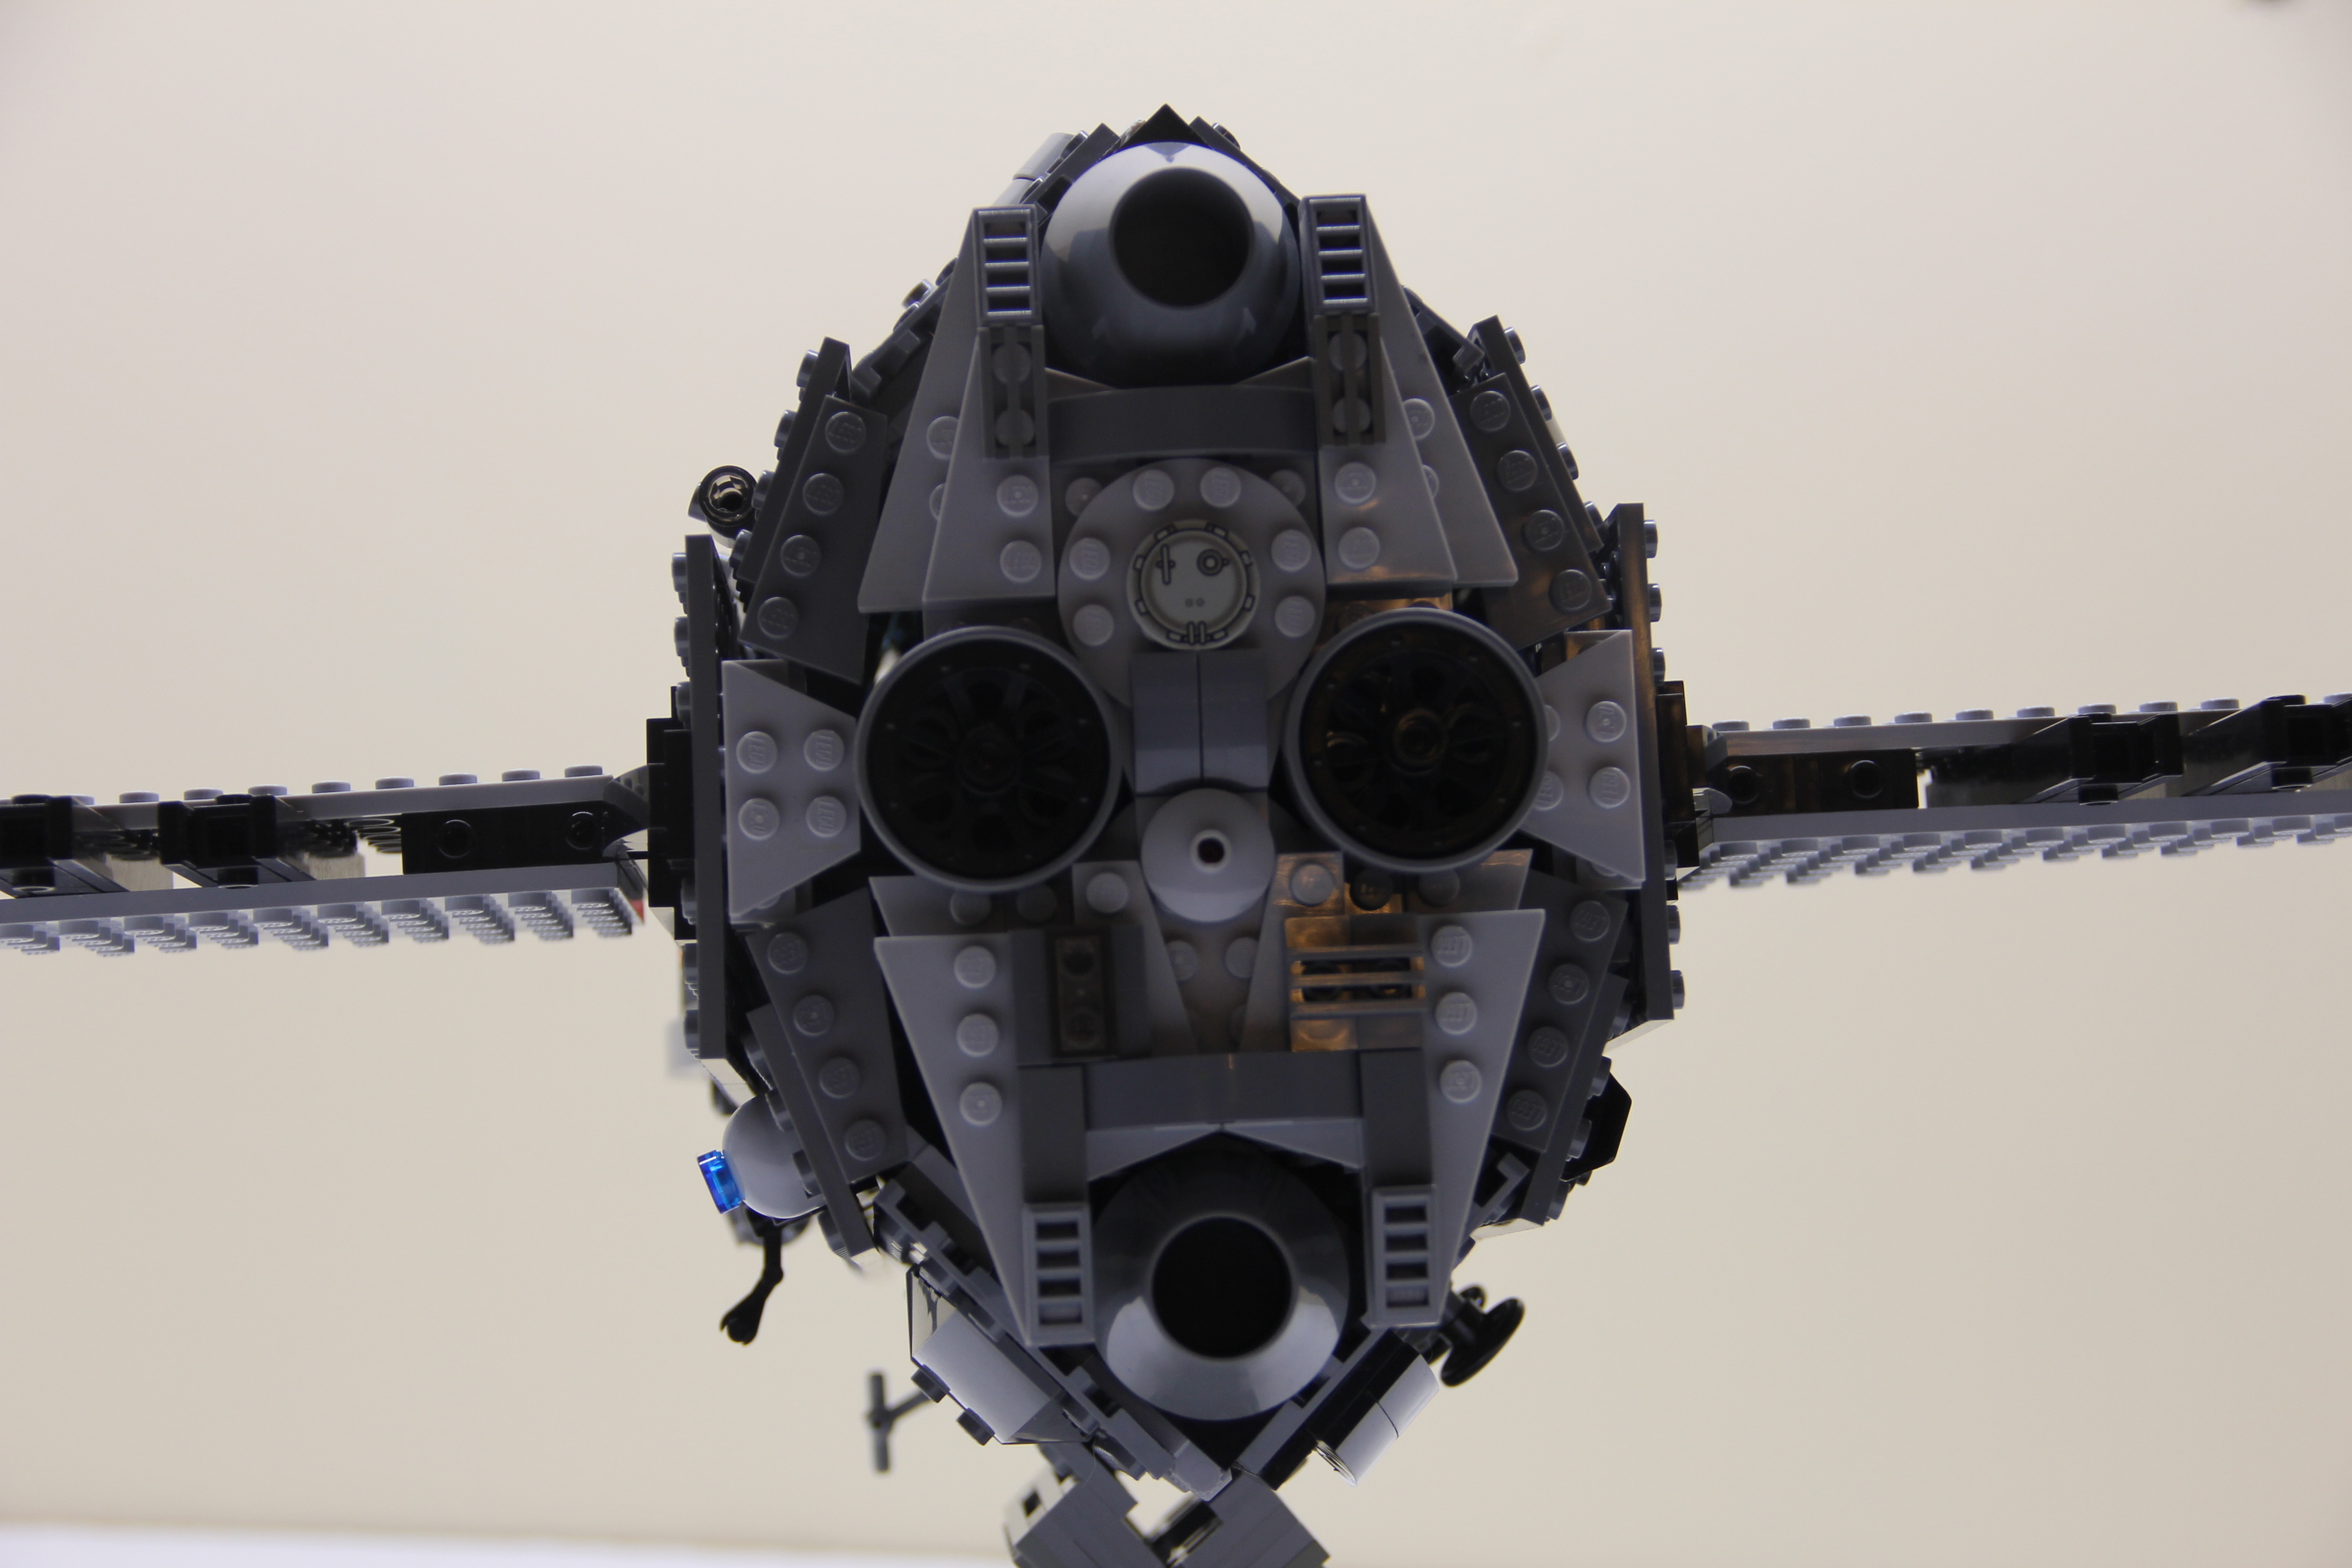
Engine Closeup
Although this one took me the longest to make (mostly because I couldn’t find the pieces I needed), it was worth it in the end. Learned a few new techniques and what not to do with the hinge pieces. I still need to learn how to put more of the little details into the MOC while building it instead of just glomming them on at the end. I also need to learn how to design the interiors better while building the frame instead of trying to put pieces on after having all the exterior plates in the way. For more pictures, the gallery can be found here. I may also take some pictures of some of the elements as I take it apart (kids have already played with it, so it’s pretty much done for at this point). I’ve also included some videos below of the entire ship (although it is quite dark despite adequate lighting while working) and you can see how fragile and off balance it is too.